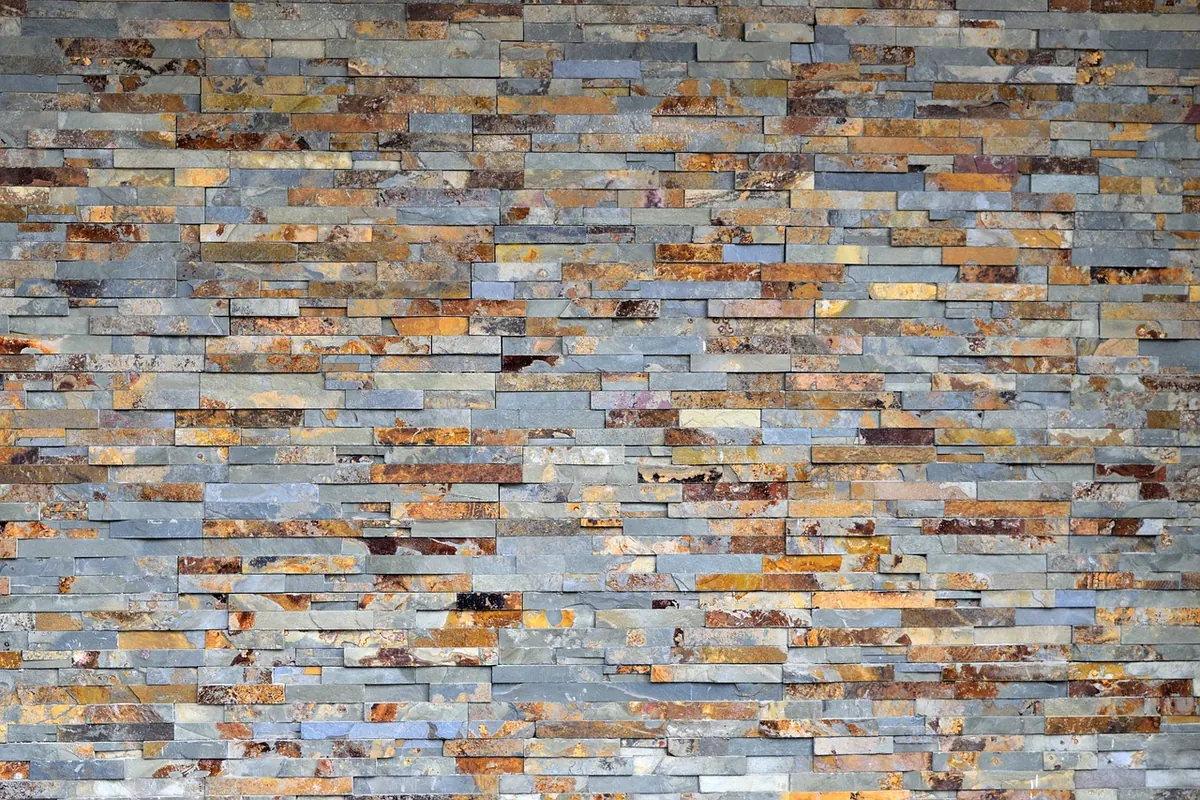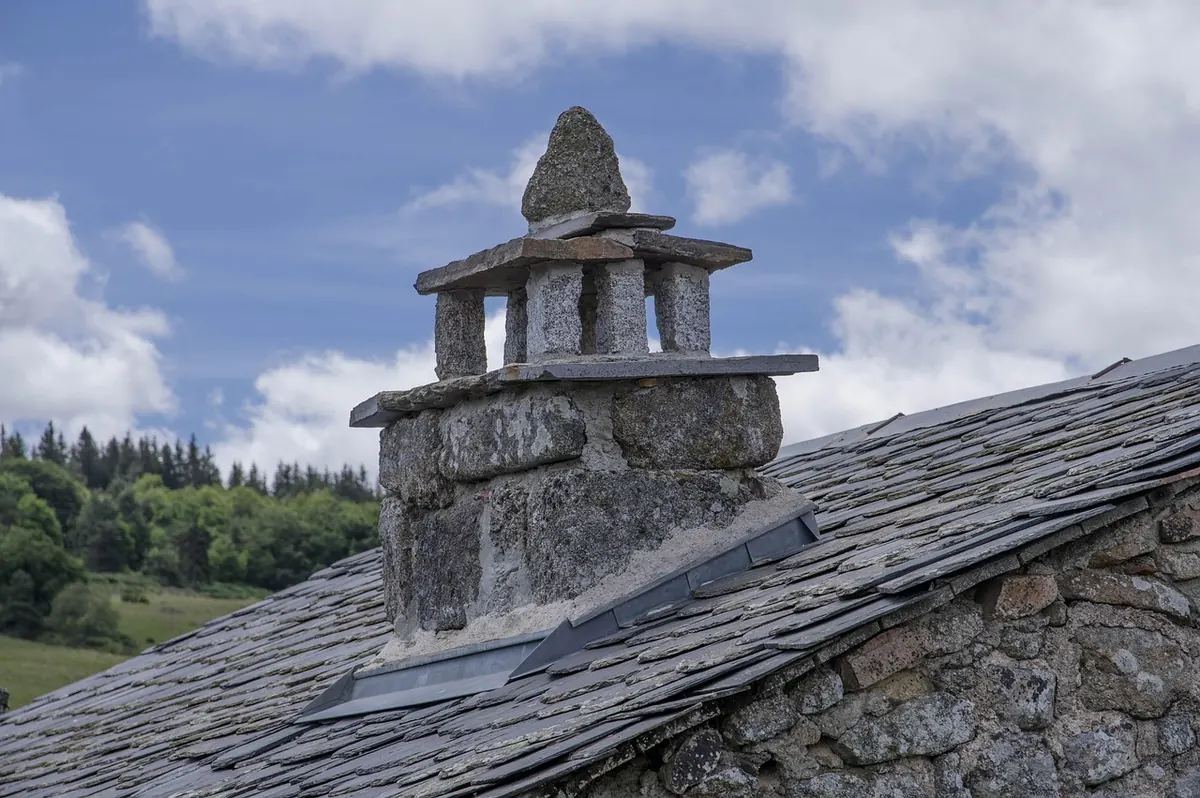
Slate and fireplaces have been companions for centuries, and for good reason. It shrugs off heat, it weathers rather than wears out, and a riven face gives a chimney breast a texture that glossy porcelain can never quite fake. The installation itself is well within reach of a careful DIYer. Get three things right — a sound substrate, accurate cutting, and an adhesive that can take the warmth — and the rest is patience.
Before you buy a single tile, find out what is actually behind the existing surface. Plaster skimmed onto brick is common, and if it sounds hollow when you tap it, it has already failed and will take your tiles with it. Strip it back to the masonry. Plasterboard should not sit within the immediate heat zone of an open fire or stove; replace it with a cement-based tile backer board. If you are tiling onto a timber surround or studwork, fix backer board to it first so the slate has something stable and, crucially, something that does not burn.
Clearances matter more than aesthetics. Tiling does not reduce the distance a stove or open fire must be from combustible materials — that figure comes from the appliance's own installation instructions. Do not tile over air vents, and never obstruct ventilation into a chimney or around a stove. If you are working around a gas appliance, leave the gas side of things alone; a Gas Safe registered engineer should disconnect and reconnect it. For solid fuel, a registered installer can confirm whether your planned surround meets the required distances. It is a short conversation that saves a long headache.
Start from the centre of the fireplace opening and work outwards. Dry-lay a row of tiles on the floor or across the surround to see how the joints fall. Chimney breasts are rarely plumb or square, so check both with a level rather than trusting the existing lines. Aim to have full tiles meeting the opening and your cuts at the outer edges, where the eye notices them least.
Think about the bond pattern before you commit. Stack bond — all joints aligned — suits rectangular slate and looks calm and modern. Brick bond is more traditional. Herringbone and chevron work beautifully with smaller pieces but multiply your cutting time. Whatever you choose, keep joint widths consistent: 2–3 mm for calibrated or honed slate, up to 5 mm for thick riven tiles where the edges wander.
Slate cuts cleanly with the right blade and a slow hand. A wet tile saw handles straight cuts and keeps the dust down, which matters more than most people realise — slate dust contains crystalline silica, and breathing it is a genuine risk. Cut outdoors or with water suppression, and wear an FFP3 mask rather than a flimsy paper one.
Riven slate is uneven, so comb the adhesive onto the wall with a notched trowel and then back-butter each tile as well. That combination gives you full coverage, which is what stops tiles from drumming hollow later. Press each tile into place with a gentle twist, then check across the face with a straight edge — a surround can look flat tile by tile and still be visibly out over a metre.
Leave a 2–3 mm gap at the outer perimeter of the tiling and around any metal insert or frame. Fill those with flexible silicone, not grout, so the slate has somewhere to expand when the fire is lit. Tiles that bridge the opening need real support underneath — a lintel or steel bar — never adhesive alone.
Once the surround is tiled, resist the urge to light a fire. Cement-based adhesive and grout need to cure fully before they meet heat, which usually means following the bag's guidance to the letter and often waiting several days. Then build up gently with small fires rather than a blazing one on the first evening.
Riven and rustic slate is porous and will drink grout pigment if you let it. Check your sealer's instructions — some are applied before grouting as a barrier, others after. Work the grout in diagonally with a rubber float, then wipe with a damp sponge without flooding the joints. Over-wetting weakens grout and pulls colour out of it.
When everything is dry and cured, apply one or two coats of impregnating sealer and buff off the excess. In a sooty environment, re-seal every year or two. Clean with a pH-neutral stone cleaner and a soft cloth; vinegar, bleach and acidic limescale removers will dull the surface and eat into the grout.
Expect slate to change. It darkens slightly with sealer, softens in tone as it takes on soot, and picks up a faint sheen where it is touched most. That is part of the appeal.
If a tile ever cracks or sounds hollow when tapped, it can usually be replaced — break it out carefully, scrape back the old adhesive, and set a new one in the same way. Avoid sudden temperature shocks, such as throwing cold water onto a hot surround, and keep an eye on the sealant joints around the opening. If you are unsure about clearances around a stove or the ventilation of a chimney, stop and ask a registered installer before you tile. The materials are forgiving, but the safety rules are not.
Photo: jackmac34 / Pixabay