A slate splashback is rarely the first thing people picture when they plan a kitchen, which is part of its charm. Where a glossy porcelain tile throws the whole room back at you, slate sits quietly at the back of the worktop, holding shadow instead of bouncing light. It suits a converted mill, a Victorian terrace and a new-build with dark cabinetry equally well. It also has firm opinions about how it wants to be treated.
The short version: slate works beautifully if you choose the right piece of stone, seal it properly and plan for its weight. It disappoints when it is fitted like ceramic and then cleaned like ceramic. Here is how the material behaves in a working kitchen, and what you should be pricing up before you commit.
Slate is at its best in kitchens with a clear design direction. Behind a run of painted Shaker units, a band of riven slate adds texture without adding pattern. In a utility room or boot room, where a splashback exists mostly to catch water and muddy hands, it looks purposeful and takes knocks well.
The most successful installations tend to share a few traits:
Sinks are a grey area. Slate handles water fine once sealed, but hard water leaves visible marks on dark stone, and soap residue can dull a honed finish. If your heart is set on it around the sink, use a honed slab, keep a microfibre cloth nearby and reseal on schedule.
Slate is porous. Until it is sealed, it drinks up oil, wine, turmeric and anything else that spits out of a pan. Sealing slows that down considerably, but it is not a permanent shield, and any spill left sitting on an unsealed or tired surface can leave a mark.
Riven, natural-cleft slate is rough by design. That texture hides scratches and looks wonderful, but it also grabs grease, and wiping it clean takes more effort than a smooth tile. Honed slate is far easier to live with and still unmistakably stone.
Some slates are more acid-sensitive than others because of the minerals they contain. Lemon juice, vinegar and limescale removers can etch or dull certain stones. Test a scrap piece with the cleaners you actually use before you commit a whole splashback.
Weight matters too. Even a modest 10mm slate tile is heavy — think in the region of 25kg per square metre — so it needs a sound substrate, not bare plasterboard held on by hope. Add the practical realities: edges chip, tiles break in transit, and natural stone costs more than ceramic. Order roughly 10% extra for cuts and breakages.
Tiles in a 300 x 300mm or 400 x 400mm format are cheaper, easier to handle and forgiving of an uneven wall. You get grout lines, which many people like as a rhythm across the wall. Slabs give you an uninterrupted sheet of stone with cut-outs for sockets and almost no grout to scrub, but they need a stone fabricator, careful handling and a stronger budget.
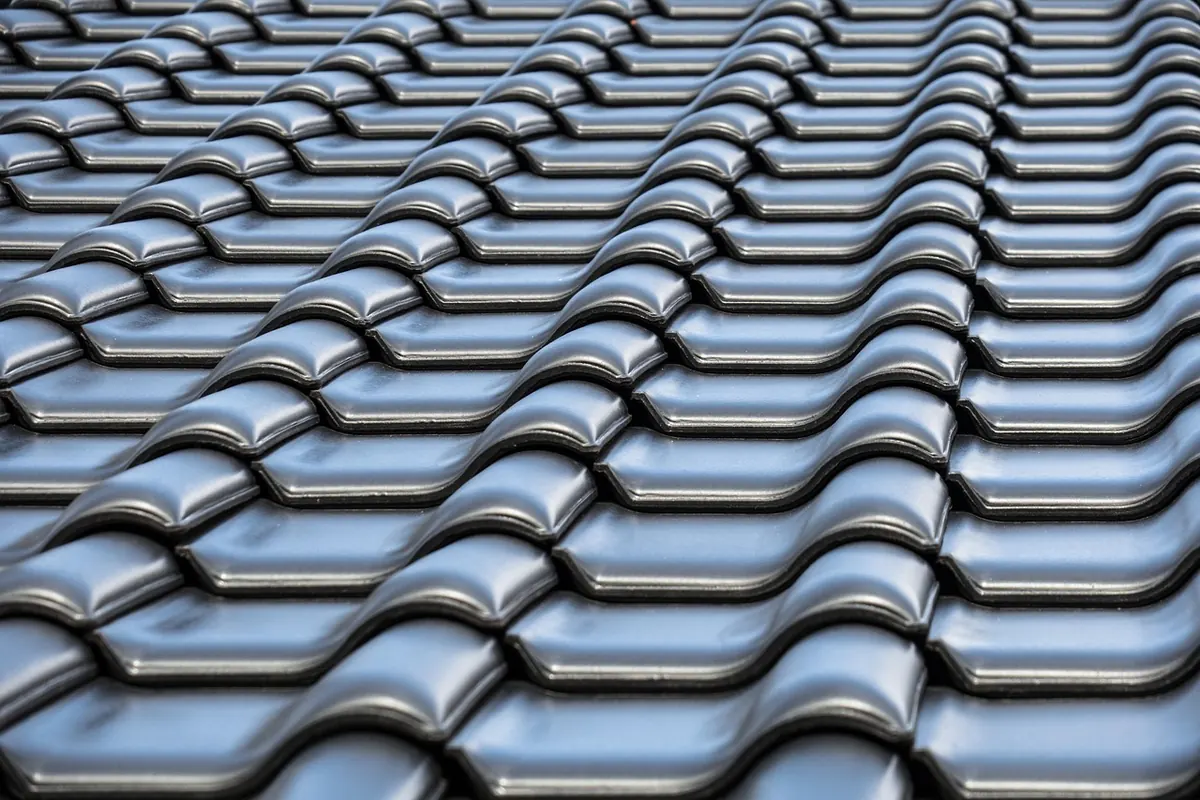
Riven slate is split along its natural layers and looks elemental. Honed slate is machined flat and smooth, which makes cleaning dramatically easier. If the splashback sits behind a hob that sees daily frying, honed is the practical choice.
One warning: plenty of products sold as "slate effect" are porcelain, vinyl or laminate reproductions. There is nothing wrong with them, and they never need sealing, but they are a different purchase entirely. Check whether you are buying natural stone before you plan any maintenance around it.
Seal before grouting, not after. Use an impregnating sealer rather than a film-forming top coat, which can peel or cloud on stone. The routine is straightforward:
For day-to-day cleaning, use a pH-neutral stone cleaner and a soft cloth. Avoid acidic descalers, cream cleaners and anything abrasive. Use neutral-cure silicone rather than an acetic one at the joint between the splashback and the worktop, and keep that joint flexible so movement does not crack the grout.
Prices vary widely by region, stone and supplier, so any figure you see online is a starting point rather than a quote. What you can do is understand what drives the number, and ask for it itemised:
Get three quotes, one from a stone fabricator as well as tilers, and ask each one how they will handle sealing, cut-outs and waste. Budget a small contingency on top; old walls have a habit of revealing themselves once the old covering comes off. Electrical and gas work must be done by qualified tradespeople, so factor that in if sockets or a hob need moving.
Decide the height first. A standard splashback runs 600mm from the worktop, but many kitchens look better taken up to the underside of the wall units or the extractor. Behind a hob, follow the hob and hood manufacturers' clearance instructions precisely, even though slate itself is not combustible.
Check the wall before ordering. Plasterboard on studs usually needs overboarding with a tile backer board. Solid masonry is simpler but rarely flat, so the tiler may need to build out with adhesive. Dry-lay the tiles or slab first to check the layout, especially around sockets. If you are using tiles, keep the grout joints tight and consistent — 2mm suits slate better than a wide gap that emphasises every irregular edge.
Choose slate if you like a matt, mineral surface, you have reasonable extraction, and you will accept a resealing job every year or so. Choose something else if you want a splashback that requires nothing from you, or if you want light bouncing around a small, dark kitchen — in that case a porcelain lookalike gives you the colour without the maintenance.
For most kitchens, the sweet spot is a honed slate band behind the hob and along the worktop, sealed properly at installation and topped up annually. It is a small area of stone, so the cost stays manageable, and it does the one thing slate does better than almost anything else: it makes a kitchen feel grounded.
Photo: user32212 / Pixabay